Affichage des articles dont le libellé est AAR. Afficher tous les articles

mercredi 8 avril 2020

Long time no see & a battle report (Tigers at Minsk)

Apart from a couple of random posts, the last post here was from 2014. If it were a forum post it's the kind of thing you wouldn't revive, though times are strange with a global pandemic and suddenly a lot of free time on my hands. After spending some time sick and getting burnt out/tired of running games of Dungeons & Dragons and other role playing games for my friends, I was feeling the urge for some solo play. I'd tried some solo d&d before, though the idea of making characters and such didn't appeal to me at the time. Eventually, I found my way to the reading list.

It's nice to see many of the blogs I followed and read are still going, and strong! I'm not sure if inspired is a good way to refer to how I feel about potentially getting back into wargaming and figure collecting/painting and such. I was tempted at various points to buy some warhammer figures to glue together and paint during tough periods of university, though money and space were lacking. Now having left uni and being, for the time being at least, without work until the UK lock down is lifted, perhaps I shall use this time to dip in the proverbial toe.

I have ideas, and I could ramble, but I decided instead to simply print out a hex sheet, cut up some cardboard, and grab a pen and a copy of Tigers at Minsk, a simple ruleset for WWII gaming. I have very little space, but managed to fit the 6x8 hexes on a sheet of A4 paper. I could have made the tokens pretty, with custom art and such, but I knew if I dallied too long I would lose momentum. So, with some tokens and the starter scenario in hand, I jumped in.

The scenario is simple enough. 6 German sections and HMG support must reach the Russians' base line before the time runs out. The Russians have a couple of infantry sections and a couple of HMGs, as well as good cover in a pair of villages/BUA and open lines of fire that the Germans have to cross.
Closest to the camera are the Germans, across the board are the Russians.

Camera quality is somewhat lacking, and the tokens are very... functional
Initial deployment. The Russians place HMGs in the villages, while the Germans form a line in the forests with a couple of sections on the right ready to make the dash across the open.


The first couple of rounds begin with both sides opening fire, with the Germans taking the worst of it. They lose two squads in the forest to a HMG and another in pinned. However, the HMG malfunctions on the second turn! The "assault" group moves up and lays down smoke, attracting some fire but no damage is dealt.


Behind smoke cover and knowing the HMG is down, the infantry press on, hoping to cross the gap while the other HMG is pinned.


On the German left, more luck as the other HMG is knocked out. While the left spent most of the fight out of command, they performed pretty well.


The infantry squad on the Russian left try their best to pin and/or destroy the attackers, but there are just too many. Along with the random event Inflitration that gives both side a single unit one move, the Germans are rushing on.


The second squad is locked in the village by the German HMG, while the German right pours fire into the other squad. The section closest to the Russian base line (top right) is pinned, but no more.


A German victory! A rough beginning and nearly out of time, a lot of luck pulled them through on this one.


I'm pretty sure I misplayed parts, like not using opportunity fire enough for the Russians. Most play throughs I've read of the scenario the Russians win, as crossing the open under two HMG fire is horrendously dangerous. Though the HMG malfunctioning early really helped I think and, once out of sight of the troops in the other village, the lone Russian squad just didn't have the firepower to contest.

Overall I really enjoyed it. Quick, easy to grasp, just need to print a reference sheet rather than flick through the pdf all the time. I think I shall play the other scenarios in the book, and from then, we shall see.

I hope you are all doing well in these strange times

lundi 30 décembre 2013

Chain of Command - bandits vs city state soldiers

This is the third game i have played while i'm at my parents, and the first when the camera actually worker! In the first game the batteries died on me and the second i forgot! For all the games i used Toofatlardies' Chain of Command platoon level WWII rules, my favorite rules at the moment.
In all three games i have used the first forces i made for Normedra, one being a platoon of bandits from the tundra and the other being a small but well armed platoon of soldiers from a city state. The first game was a flank attack with the city state troops attacking and, helped by a tank, drove off the bandits. In the next game the bandits were counter attackig,  probing the city states' lines to try and force them back but despite a fire beginning in the middle of the battlefield and a brave assault by a section of bandit elite the attack was thrown back.
The third game in a patrol, with two platoons meeting each other and seeking to force the other back. Below is the lay of the land, the bandit jump off points are at the bottom of the photo, the city state JOPs are at the top.


As i have no 15mm terrain, the ruin is just a quick knock up from card. Various objects make hills and folds in the ground, perfect cover in the treeless tundra, and the 'wheat fields' are patches of shrubs.

The bandits for once start with higher morale so go first. I tweaked their list, allowing them a LMG and lowered their level, allowing them to take more units than the city soldiers. So in this game the city soldiers only had a 50mm mortar for support while the bandits had a light 'universal carrier' with a LMG and an armoured half track. No wonder their morale was higher!
Below a squad of riflemen move into the ruins to deny them to the city soldiers, and the carrier comes under fire from a squad that deployed in the shrubs at the top of the picture.


A squad of city soldiers with the platoon sergeant deploys, looking to move against the other flank.


To counter them, the bandits deploy their 'elites' (armed with assault rifles, a grenade launcher and wearing captured uniforms) and the half track and the third squad advances, machine gun blazing.


City soldiers in the shrubs with the 50mm mortar at the bottom right providing some help from behind a fold in the ground. Due to a lack of 1's the mortar only fired twice!


The half track pushes up, firing all the way and helped by the elites. The city soldiers are well armed but their sections are small so losses hurt!


The third city state section deploys to help their comrades in the shrubs.


The rifle team dismounts, leaving the machine gun team in the half track, and prepares to assault.


Pinned and with losses, the city state section is thrown back, only the wounded platoon sergeant and NCO get away.


The carrier pushes up in the middle. The city soldiers deploy their anti-tank team and fire at the carrier, but only damage the engine so the platoon commander calls his men to withdraw.


The bandits have managed to throw back the over confident city soldiers, mainly thanks to some vehicle support!

I used the CoC rules with no major changes, just reduced assault rifles to only firing one shot like normal rifles, but roll 2 extra dice in assaults as normal. With most men being armed with one i guessed things would get very messy at close range, and ammunition would be scare (it is post apocalyptic after all!).

jeudi 1 août 2013

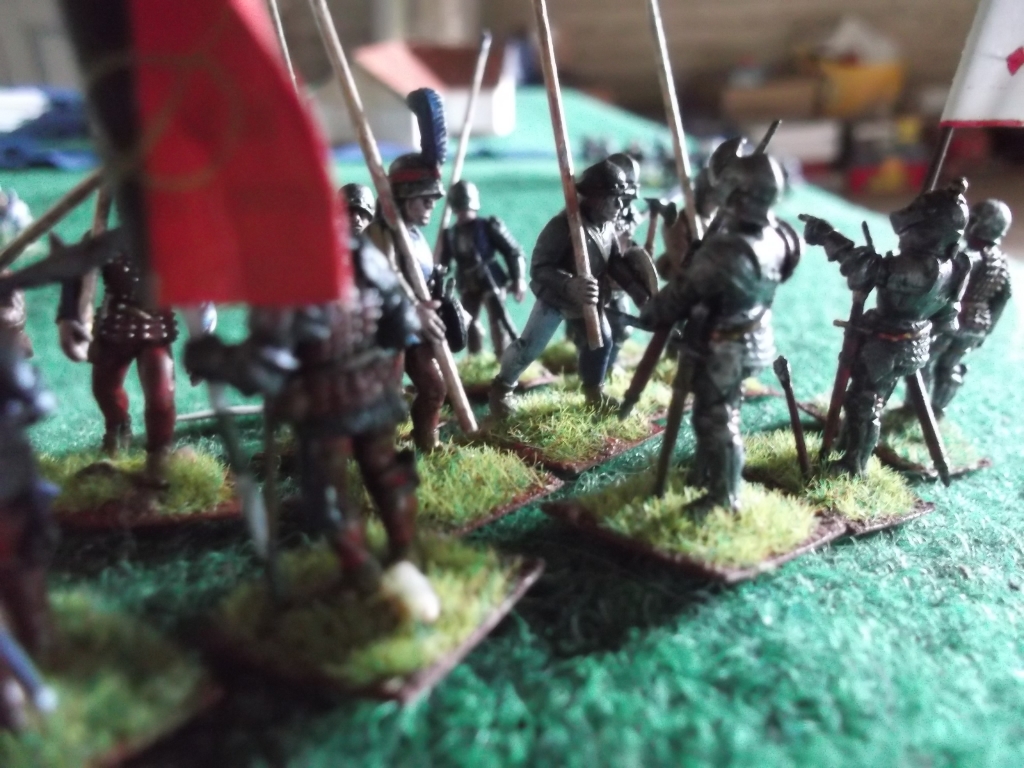
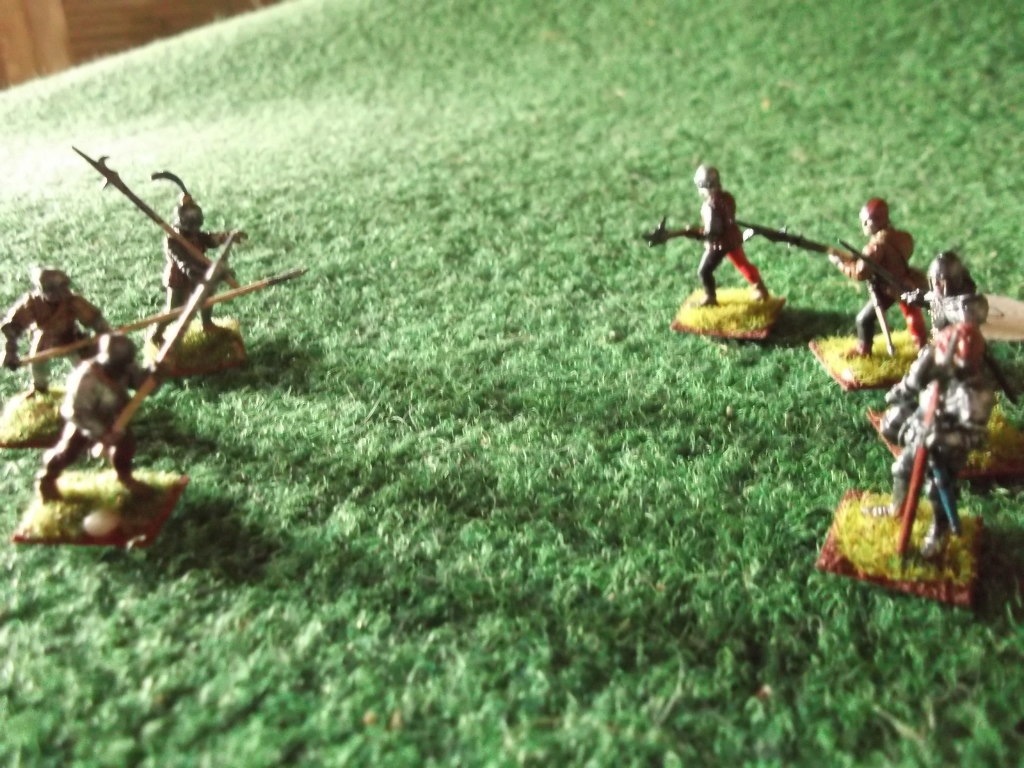
Dux Bel French vs Lowlands battle #1

Here it is, the report for my first Dux Bellorum on the continent game. Posted a bit later than planned, but the pictures take an age to load up! Anyway...
This battle pitched the militia forces of a small Lowland town against the company of a French captain looking for some land to nap and loot for his soldiers. Nothing too historical here.

The French had the following:
Mounted companions
2 units out mounted gendarmes (men-at-arms)
1 unit of mounted coustilliers
1 unit of heavy infantry
3 units of crossbowmen
7 Leadership points (for boosting combat and morale)


The Lowlanders brought the following to the battle:
Foot companions
2 units of heavy infantry with pikes
4 units of militia infantry with pikes
1 unit of crossbowmen
1 unit of mounted poorterij (men-at-arms)
1 unit of mouted coustilliers
2 units of skirmishers
6 LPs


The opening moves. The Lowlanders planned to advance as quickly as possible to stop the French cavalry from maneuvering, with the cavalry to take out the archers (who in this battle were actual archers :-p)


The French captain looks at the advancing enemy while his archers advance to open fire.


Seeing an opportunity, the captain charges a unit of skirmishers that strays too far forward. The infantry are too far away to help and the captain deprives the Lowlanders of an LP.
For every unit lost, you loose an LP, meaning you get less and less bonuses as the battle rolls on, handy way of representing confusion and the chaos of battle.


In the following turn, the Lowland cavalry charge, having taken no losses from archery at the beginning of the turn. The infantry also manage to get into contact. Despite being charging cavalry, the French archers hold (thanks to LPs, used to save losses) excpet on their right where the militiamen force back some archers. The lighter coustilliers, however, are thrown back by the French heavy infantry.


End of third turn view.


Being a brave French man, the captain charges the mass pikes of the Lowlands. Despite the penalties imposed on him by the pikes, he hopes to hold out until his men can win elsewhere on the field.


Meanwhile...
2 units of Lowlanders decide today's a day off, and refuse to pass a bravery test to move.


the following combat does not go well, as he and the gendarms take losses, but manage to inflict enough to get a draw, unfortunately.


The Poorteri slowly cut through the archers, but the coustilliers pull back, battered with a threatened flank. The Lowland infantry on the right just watches.


The Lowland infantry pile on the pressure and hem in on the weakened cavalry. Things are not looking good for the French.


LPs keep the archers in play (albeit at with only 1 or 2 points of cohesion left) and the heavy infantry join in the swing the balance in favour of the French on their left.


On the right, some gendarms ride down the Lowland archers, but the cavalry in the center are suffering. Coutrai all over?


As the French wanted, they now however have 2 units of cavalry ready to attack the infantry's flanks, but in a classic show of dice rolling, both fail, the gendarms even loosing a point cohesion! The captain must fight another round alone in the center.


Pour sainte Denis!
Thanks to their armour and courage (ie, LPs) the French captain holds on, and manages to inflict some casualties. He is lucky the heavy infantry at his flank failed to move.


The following turn, everyone gets stuck in. The Lowland poorterij are driven off, fleeing the field, and in the center the French cavalry crash down on the Lowland infantry flanks, causing enough losses to force the rest of the force to test for morale. Men begin to run, and at the end only a few men stand with the Lowland leader, the rest having run in the general direction of home.


Still waiting to advance, there will be some arguments in the camp about the performance of these chaps!


mardi 2 juillet 2013

The battle for Serlac Hill

So the other day i decided to continue my Anglo-Burgundian vs French campaign asi really felt like a Dux Brit battle. It also gave me a chance to test out a couple of new chances i made.
So, Steffan, the Burgundian captain, had some success in 1477, but lost his first major attack on the French lands. now it is 1478 and he prepares for another attack.
The French hear of his intentions and march out to halt him, aiming to take the hill (they chose the side with the hill but ended up on the wrong side of the table).


Militia crossbowmen prepare to cross the stream and dash for the hill.


Meanwhile, Steffan had similar ideas, but he was closer to the hill.


View before the first turn. Alain, the French lord, gave a stirring speech to his men that raised his level by 1. Steffan's speech was not so good and lowered his level by 1, but he had no chance to raise it as the French opened the battle.


Vite! The handgunners dash across the stream and spot some Danish skirmishers as they appear from the clump of trees.


Alain throws his men forward, determined to get to the hill before the Burgundians can form up.


Ils sont la! Archers are spotted on the hill.


The English archers spot the French below and hurry to reach the top of the hill.


Not everyone is happy though in the French camp, as Robin decides not to attack and stays put, thinking an attack on the hill is folly.


There's only one way; up. And up into the blades of the waiting men-at-arms.


Some Burgundian halbardiers appear on the French right, threatening the flank.


Steady men! Steffan watches to French coming for him.


Instead of waiting for the French, Steffan leads the charge into the enemy ranks. Both lords join in the melee.


Battered but not beaten, both sides pull back to regroup. But the French still have more men, and Alain regroups them quicker than Steffan.


Not many left, this'll be a piece of cake...


...there's only some English between us and victory!


Meanwhile, Charles attacks some militia who have not closed ranks. Levy not in formation, easy kills.


Steffan attacks the French again, but comes off for worse.


Although better skilled, the French have more men and fight off the men-at-arms. 


Here come the archers, drawing swords and bucklers to drive off the French.


The next time someone says levy not in formation die easily, i'll show them this;  first round, the Brugundians (soldiers, ie warriors) loose 3 MEN and the levy loose 1! The Burgundians charge again and kill a couple more.


Melee generale on the hill and the archers charge the French in the rear.


Everyone flees. The Men-at-arms loose their amphora, as do some French will the rest are at the limit. Only the archers stay.


The English see off the remaining soldiers and turn their arrows on the crossbow men below.


The militia aimed to kill a couple more men to push the Anglo-Burgundian losses from moderate to heavy, but they only kill one for the loss of four crossbowmen, so they quit the field to fight another day.


A +2 win for Steffan and he besieges a French manor, but the French sill be back in 3 months and the manor will fall in 4, so the French have one last chance to save their first manor from falling...